Disclaimer: This post contains affiliate links. If you click and make a purchase, I may receive a small commission at no extra cost to you
I’ve always thought ponchos were adorable. There’s something so cozy and effortless about them.
When I was searching for some crochet inspiration, almost majority of what I found was designed for kids. (Am I the only adult who wants a poncho? LOL XD) Who said ponchos are for kids only?
Well, not me and this piece proves it.
The Yarn
This project was a bit of an adventure from the start. I found a single, beautiful skein of brown colored yarn at an online surplus shop.
I loved the shade so much. the label says Napoli and the rest of the label is in Japanese. A quick image search reveals that it is a wool yarn.
Since it is from a surplus shop, I didn’t have a backup and couldn’t buy more. The design for the entire project is Free-handed with a 3.50mm crochet hook. I chose a very open, very airy, lacy stitch for two reasons: I loved the delicate look, and I was playing a serious game of yarn chicken. I needed that one skein to stretch as far as possible!
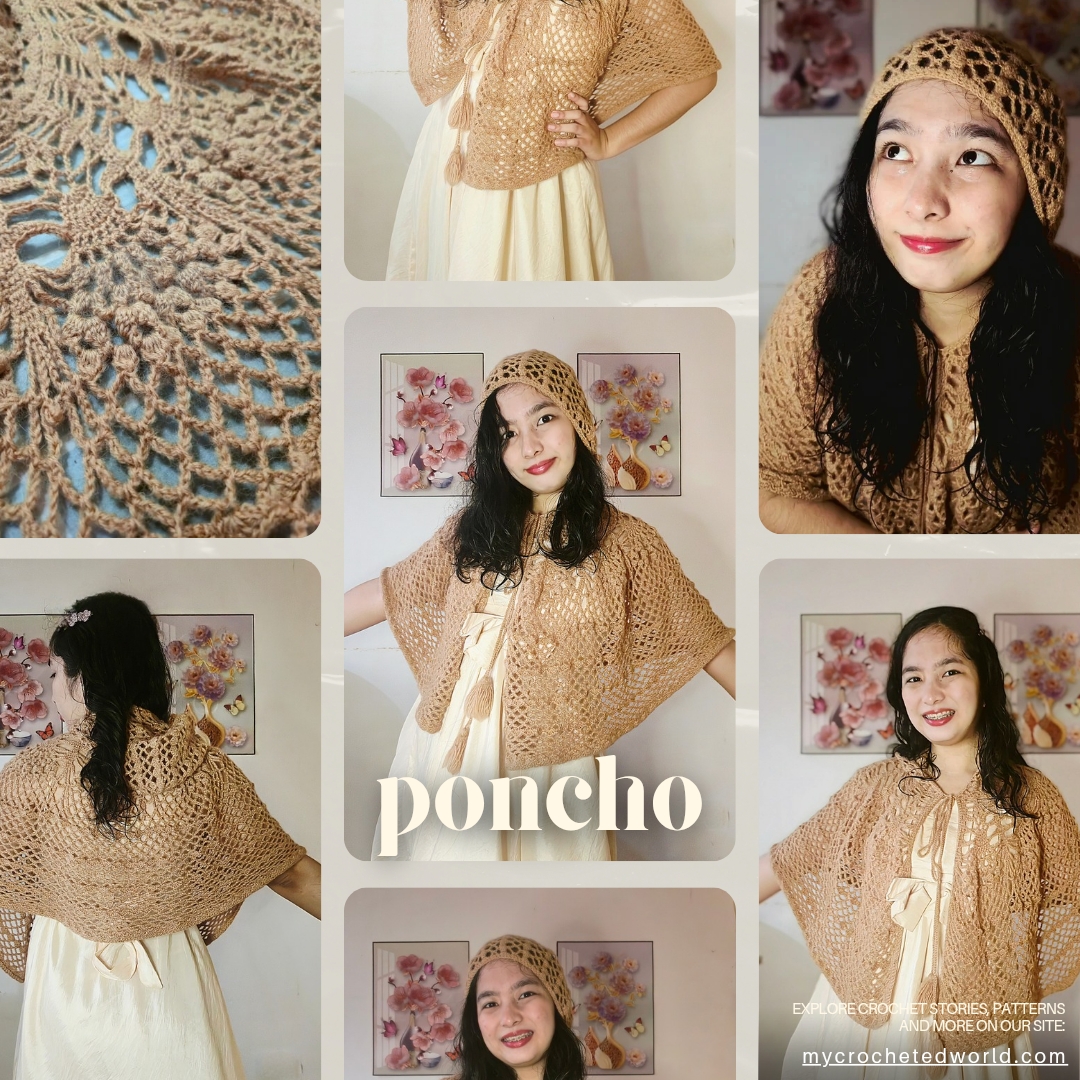
Making the Hood
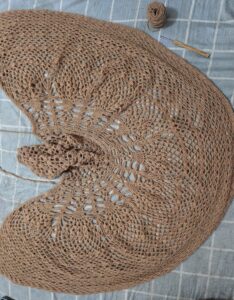
Instead of starting with the body, I actually started with the hood part! Since I was working without a pattern, I wanted a solid foundation to build from.
• I crocheted a long, lacy rectangle.
• I joined one side to form the back of the hood and left the other side open.
Voila! A functional, stylish hood that gave me a clear neckline to work into.


The Poncho part
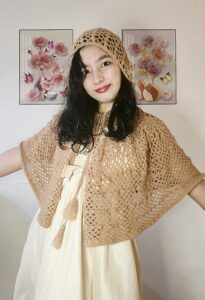
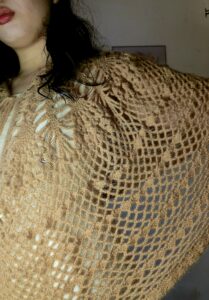
With the hood finished, I began working directly into the bottom edge of the rectangle. This is where the poncho part really took shape.
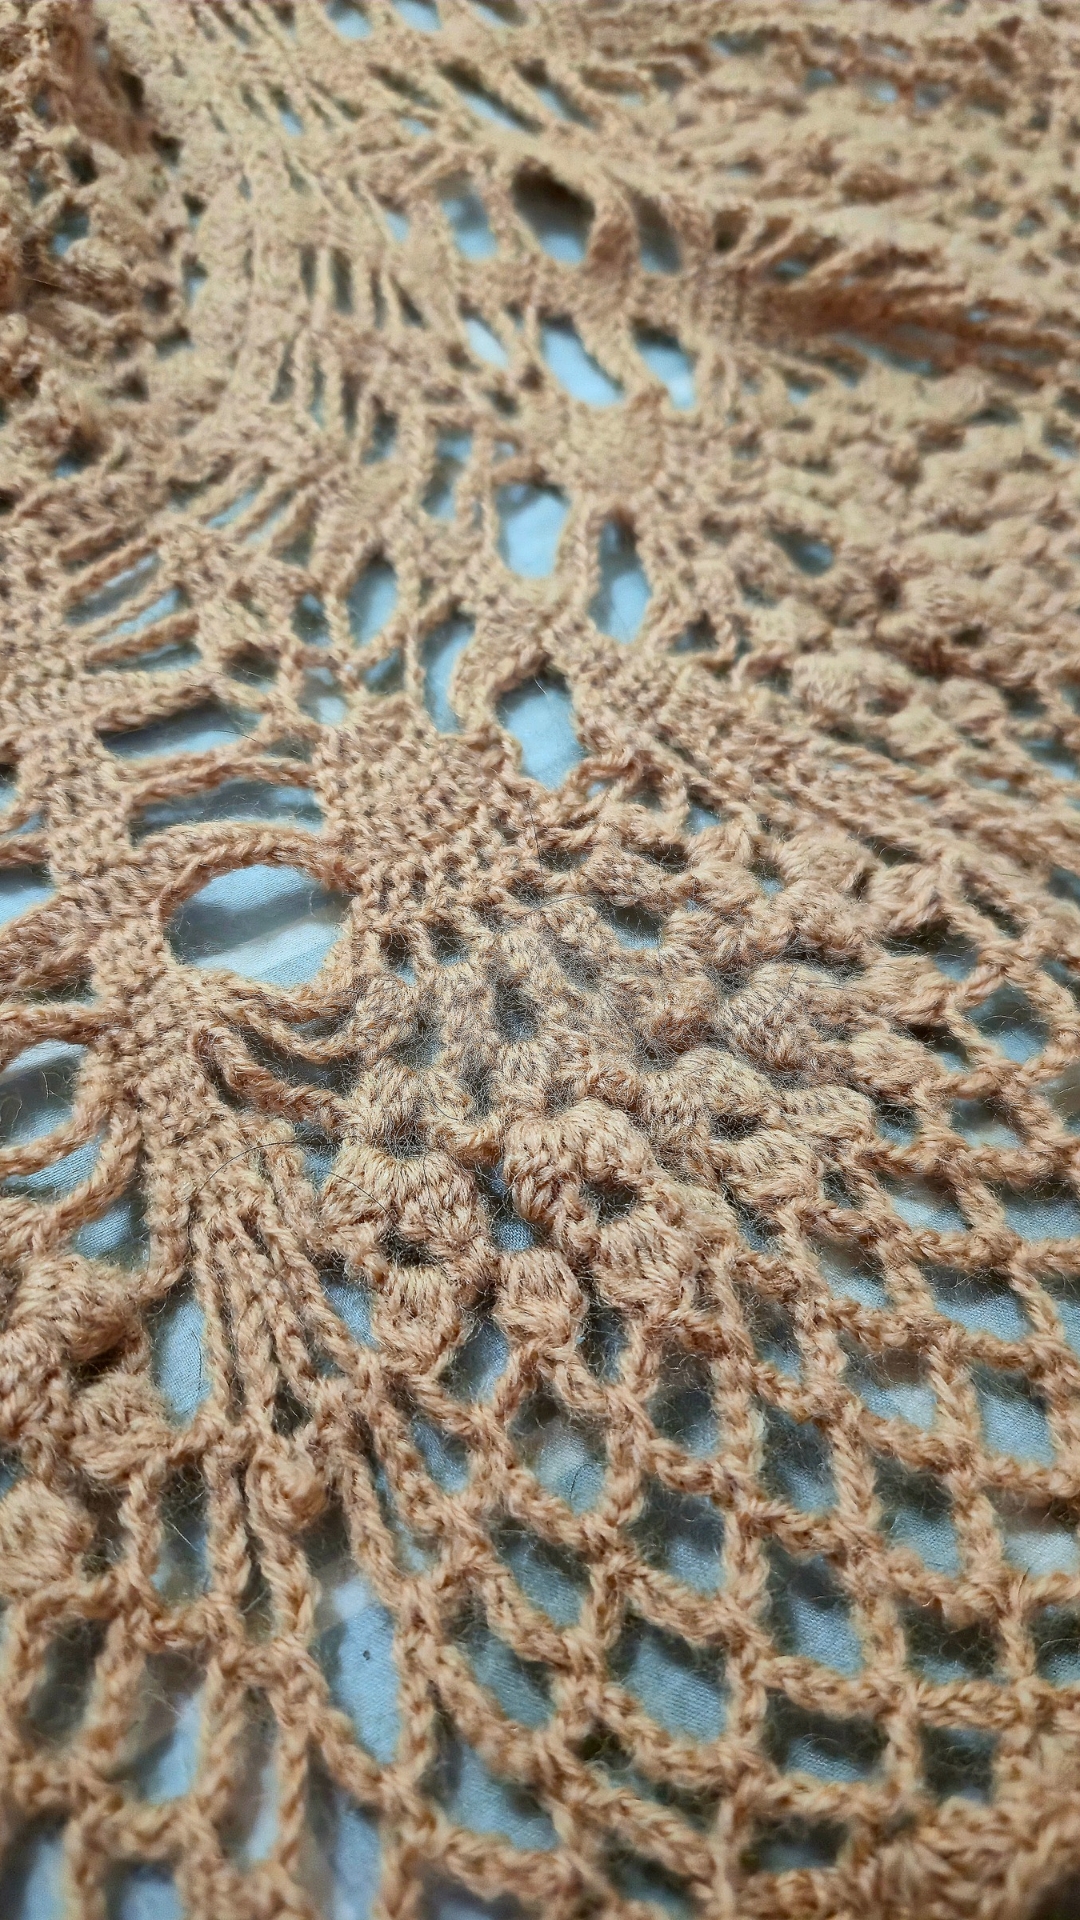
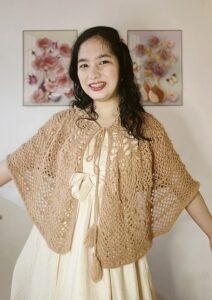
I expanded the stitches outward, allowing the lace to fan out across my shoulders. Free-handing this part was all about feeling the drape—adding increases where it felt right to make sure it flowed nicely without being too heavy or too tight. Because I was using such an airy stitch, I could watch the garment grow quickly while still being mindful of my yarn supply.
When I got down to my last ball of yarn, I used the final half to create a thicker border around the very bottom edges and added an edging layer to the sides and the front of the hood. It gave the piece a finished, intentional frame.
the Drawstring Tassel
When it came time for the closure, I debated between a putting a button or a tie. I eventually settled on a string with tassels. It felt more playful and brought a fun, whimsical vibe to the piece. Don’t you think?
Finishing a piece like this is always bittersweet. It’s like reaching the finale of a great TV series—you’re satisfied that you finished, but a little sad that the journey is over.
Of course, that sadness usually only lasts until you pick up your hook for the next project!
so until next time!
with love ❤️
– My Crocheted World
I like poncho’s like this. I made one like that 15 years ago in black.
This is so well done. I love it.
rsrue.blogspot.com